Range of Motion
Generate a test animation that moves chosen bones through their limits, so you can judge deformation while you paint.
Open it
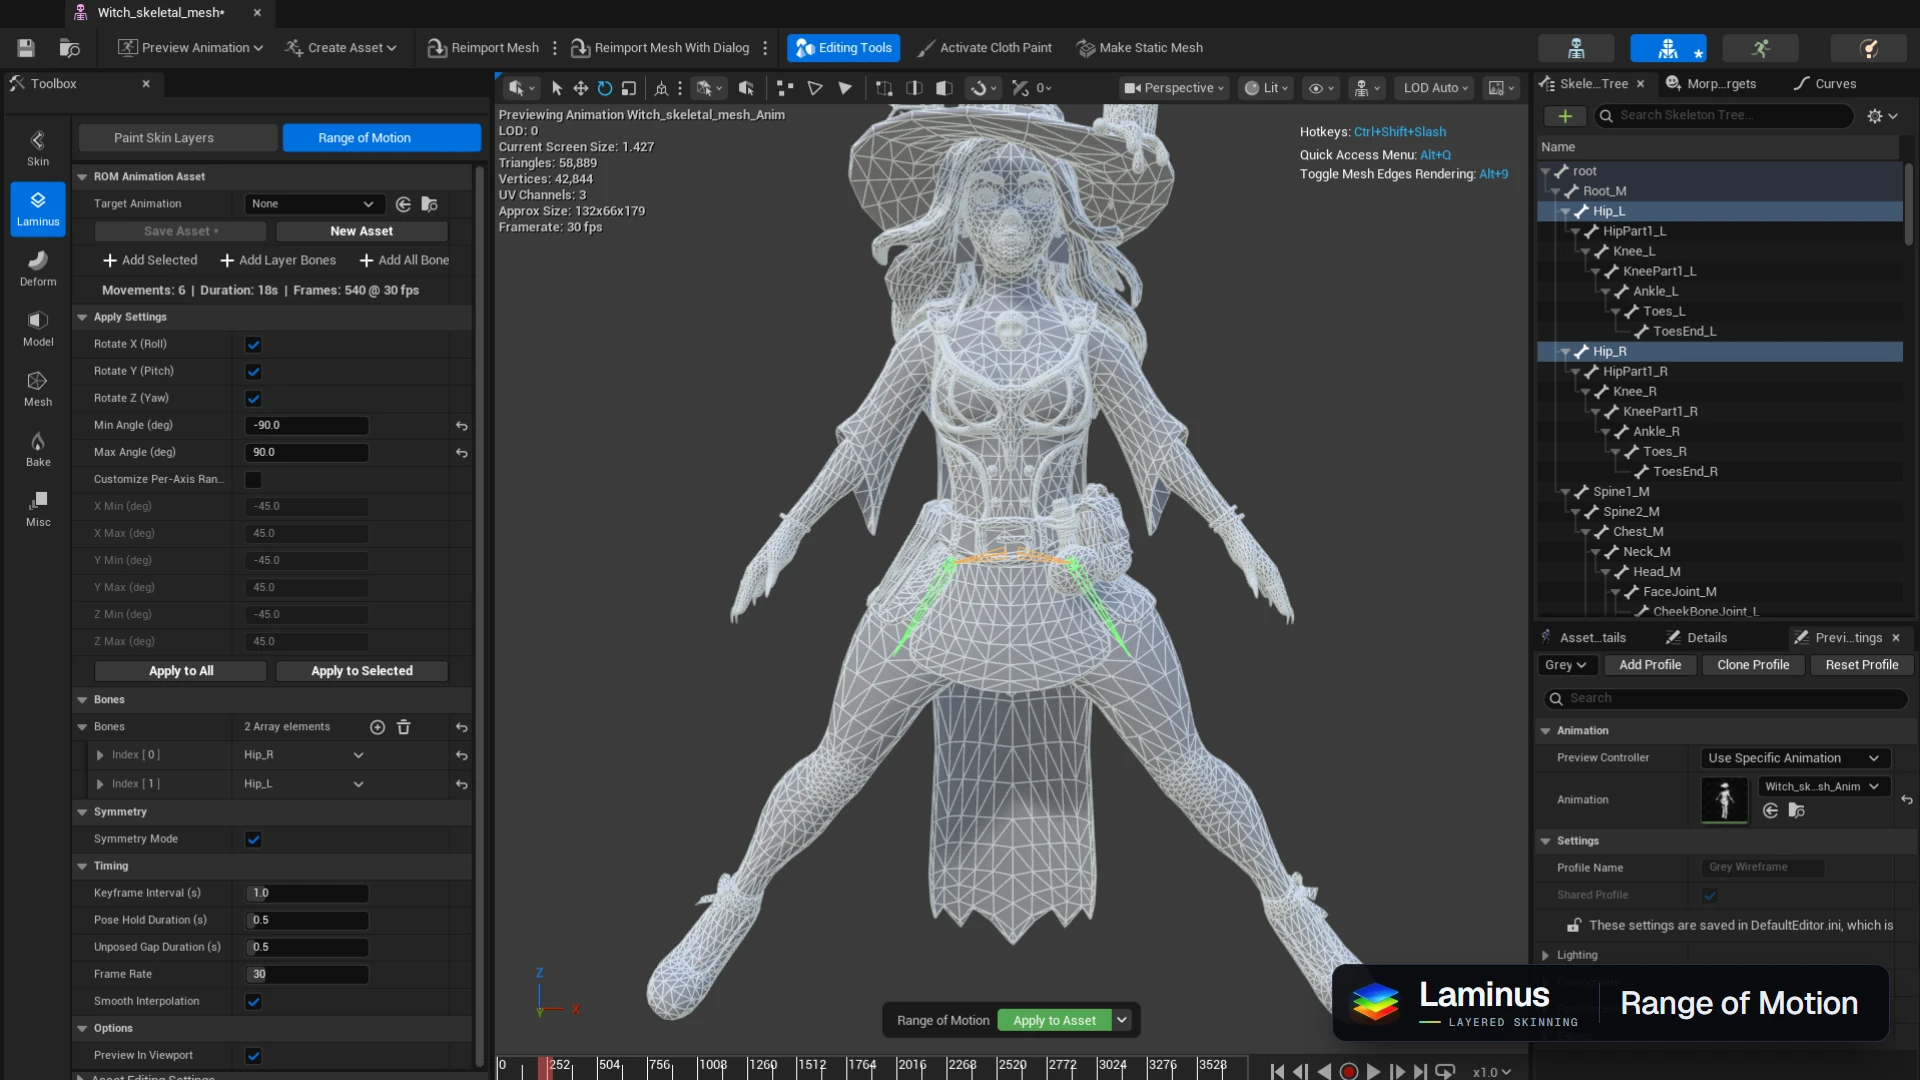
In the Skeletal Mesh Editor's tool palette, choose the Laminus tab, then Range of Motion.
Bones and ranges
Add the bones to test. Each can rotate around X (Roll), Y (Pitch) and Z (Yaw). Apply Settings copies one set of axes and limits to all or selected bones: −45° to 45° on every enabled axis by default, or separate ranges per axis.
Timing
- Keyframe interval
- 1.0 s. Time from the neutral pose to an extreme.
- Pose hold
- 0.5 s. How long each extreme is held.
- Unposed gap
- 0.5 s. The neutral hold between movements.
- Frame rate
- 30 fps, from 10 to 120.
- Smooth interpolation
- On by default. Eases in and out between keys instead of moving linearly.
Symmetry
Symmetry Mode is on by default. When both bones of a left/right pair are in the list, they animate together, paired with the same name rules Paint Skin Layers uses for mirroring.
The animation asset
Choose a target Animation Sequence, or create a new one. With Preview In Viewport on, the animation plays on the mesh as soon as it is generated.